Weekly Maintenance Checklist

Set aside 20–30 minutes weekly for these procedures:
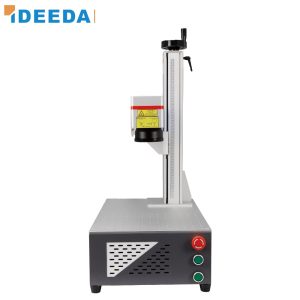
1. Clean the F-Theta Lens and Protective Window
This is the most important maintenance task on your entire machine. Here’s how to do it correctly:
Tools needed:
- Lint-free optical wipes (not paper towels, not tissues)
- Optical-grade cleaning solution (acetone or manufacturer-recommended solution)
- Lens tissue or cotton swabs (optical grade)
- Clean gloves or finger cots
Step-by-step procedure:
Critical warning: NEVER use isopropyl alcohol on coated optical elements. The anti-reflective coating on F-theta lenses and protective windows is sensitive to alcohol and can be permanently damaged. Use only manufacturer-approved cleaning solutions.
When to replace: If the protective window has visible burn marks, deep scratches, or coating damage, replace it immediately. A damaged window will scatter the laser beam and degrade mark quality.
Want the right cleaning supplies for your laser optics? [See our maintenance kit →]
2. Clear Ventilation and Airflow Paths
- Remove dust from air intake vents and exhaust ports
- Check that the fume extraction system is working properly
- Replace or clean fume extractor filters as needed
3. Check Electrical Connections
- Inspect cables for damage, loose connections, or wear
- Verify the ground connection is secure
- Check that the emergency stop button functions correctly
4. Clean the Machine Exterior
Wipe down the machine housing, marking stage, and control panel with a dry or slightly damp cloth. Remove any accumulated dust, metal particles, or marking residue.